To enable lists & registries, do the following:
- Log in to the WebStore Manager.
- Go to Products > Lists & Registries.
Enabling lists & registries
To enable customers to create such lists on your WebStore, do the following :
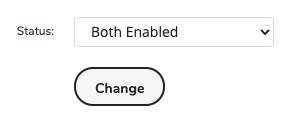
- Next to Status, select the types of lists/registries you wish to enable on your store.
- Click Change.
- To specify the types of events that can be created, enter a list of events (such as Birthdays or Weddings), separating each event type with a comma.
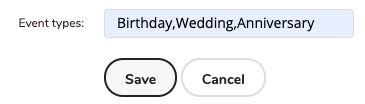
- If you do not specify any event types, customers can specify their own types of events.
- From the drop-down list of shipping methods, select a shipping method.
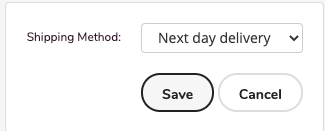
- The List and Registries page now shows that this shipping method is active, so when setting up a registry, registrants will be able to choose it as their default shipping option.
Lists & Registries – My account
To view your lists and registries, do the following:
- Click My Account.
- When you select this link, a page is displayed where your customers can manage their lists and account details:
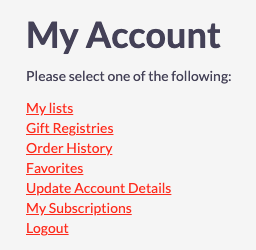
Note: Registries and lists will not be visible if they are no enabled.
From My Account, you can do the following:
- View the lists and registries currently available.
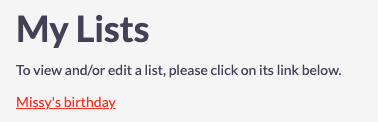
- Find available registries.
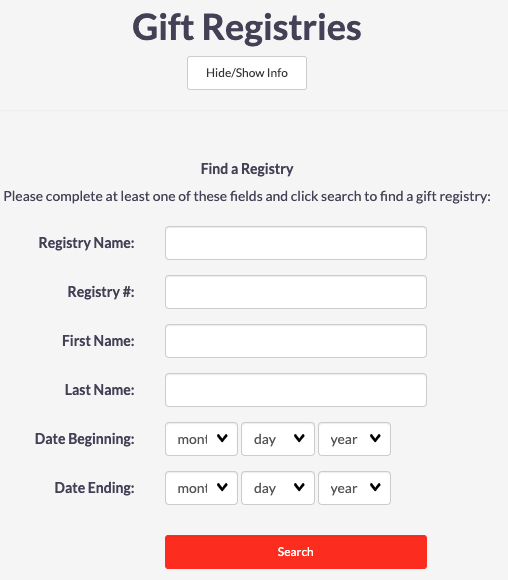
- Create new lists and registries for your WebStore.

Adding an item to a list or registry
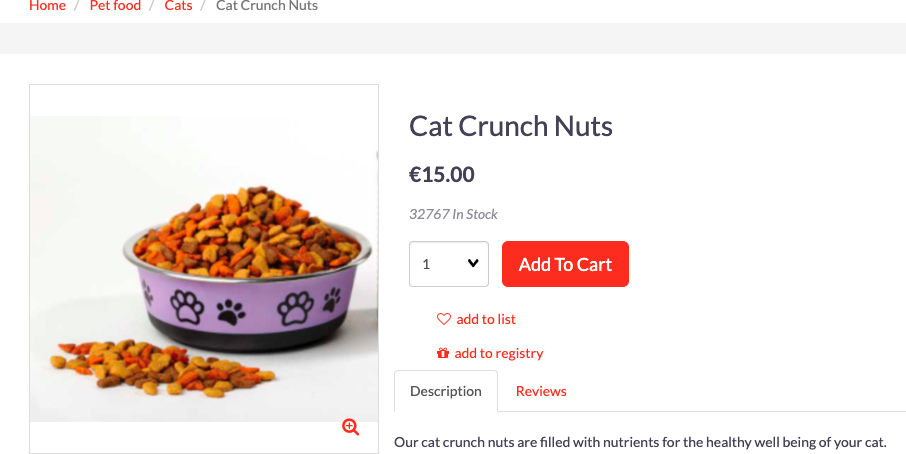
- To add an item to a list, when viewing the item's product page, select Add to List or Add to Registry, as appropriate.
- In the drop-down list, either select an existing list (or registry) or select New List (or New Registry) and enter the name of a new list or registry.
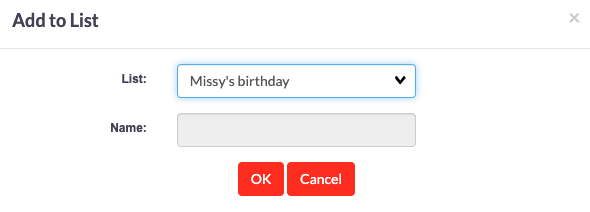
-
When you view the list, the selected items are now included. In the Requested column, select the desired quantity of each item, then click Update List.
Note: Items included in the registry are sorted according to their department and category.
- To assist registrants in writing thank-you notes to those who have purchased items from the registry, a report of the registry activity sorted by the purchaser is available.
- To view this report, select View Thank You List Report.
Tell a friend
To send a list or registry to someone, do the following:
- Select a list or registry.
- Click Show Details.
- Click Tell a friend.
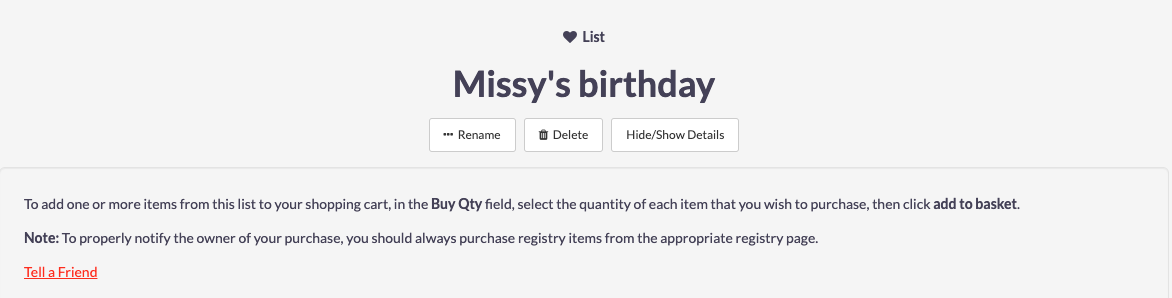
- Enter the necessary information.
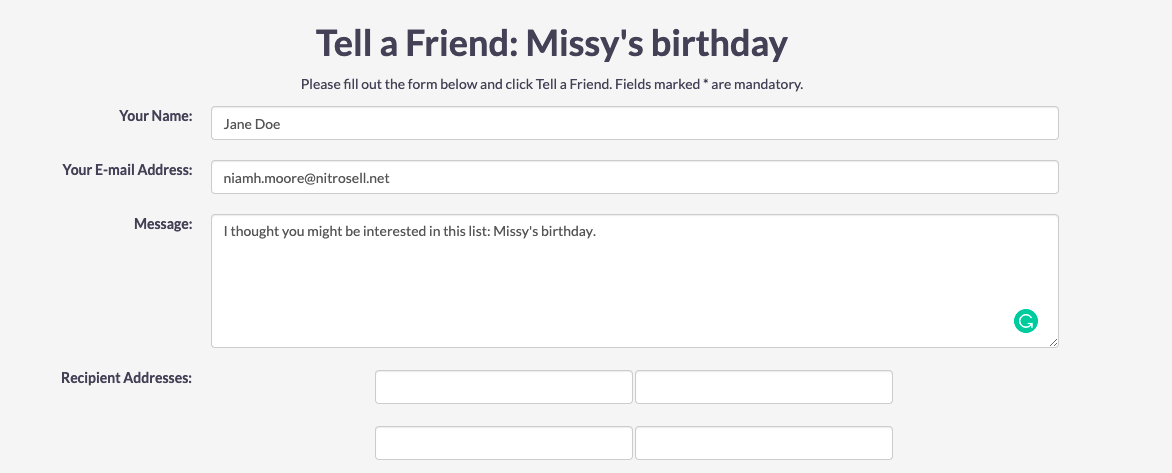
- If you select the Include list items checkbox, the e-mail will contain a list of the list items.
- Otherwise, the e-mail will contain only a link to the list page.
