Adding additional images to a product on a website can greatly enhance the customer experience by providing a clearer representation, improving understanding, aiding visualization, building trust, and facilitating comparison and decision-making.
To add multiple images for items on your WebStore, perform the following steps:
- Create a new folder within your Store pictures folder.
Place in this new folder your alternative images. Note that each alternate image must have the same name as the standard image.
The database can contain only one value for Item.PictureName, and in Windows, files in the same directory must have unique names. For these reasons, you need to create separate directories containing the images for each image profile.To create an additional image profile of the "back" images, in Sync Configuration, under Setup, select Images.
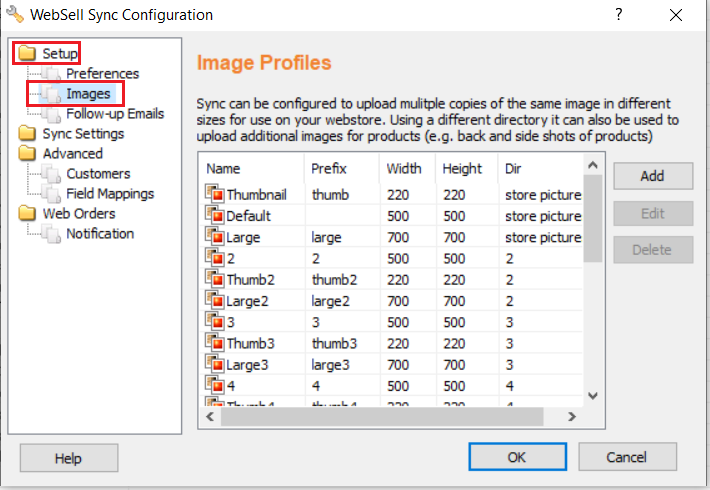
- Click Add on the right side of the window.

Specify a Profile Name (the Prefix Name will be automatically filled in for you - the same as the profile name, but in lowercase).
Specify the path of the new folder (the one you created in the beginning), then click OK.
For Max Width and Max Height, set the same values as used in your default image profile.
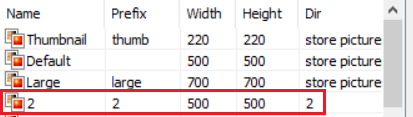
Click OK and Synchronize. The new profile is added to your list of image profiles.
- After following these steps, additional Default image will be created. We recommend creating Thumbnail and Large image profiles too - the names of these profiles should start with "Thumb" and "Large", and end with the additional default profile name.
The other image profiles should also point to the same picture directory as the additional default profile:


