To access this feature, do the following:
- Login to your WebStore Manager.
- Go to Design & Content > Content.
- Select Content tabs.
OR
- Login to your WebStore Manager.
- Go to Products > Product Details.
- Scroll to Content tabs.
Content tab fields
Each content tab contains the following fields:
- Name: a unique internal name of the tab, visible only in the WebStore Manager;
- Label: the tab label under which it is displayed on your website (e.g. Specifications);
- Status: it can be either:
- Active: active tabs are displayed on your website;
- Inactive: inactive tabs are not displayed on your website.
- You can have multiple content tabs with the same label, e.g., Specifications, but a different name, e.g., Laptop_1 Spec, Laptop_2 Spec.
- It is easy to differentiate between them on the WebStore Manager level and assign them to specific products while keeping the same label and design on the product pages.
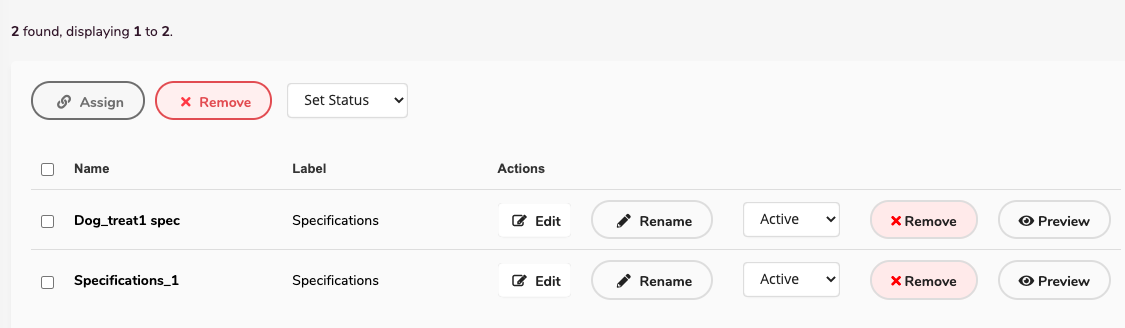
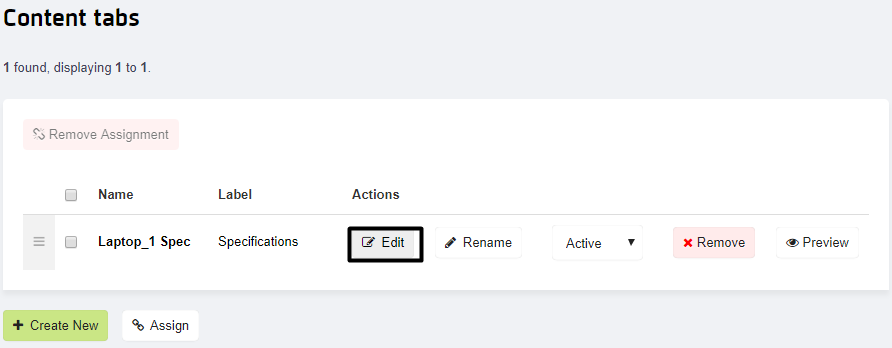
Content tabs panel
The Content tabs panel enables you to:
- Edit content tabs;
- Rename content tabs;
- Set status of content tabs;
- Remove assignment of content tabs to your product or delete them completely;
- Preview content tabs.
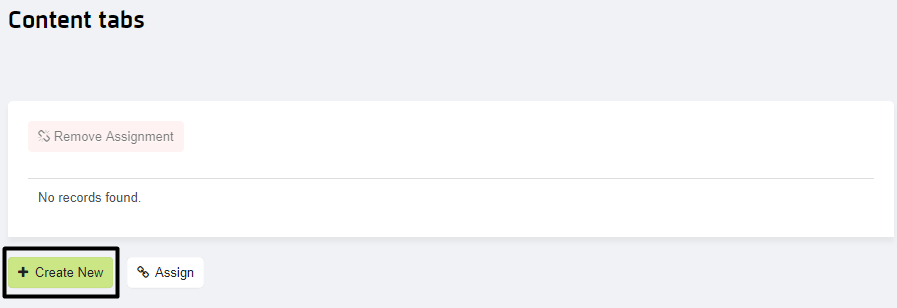
You can also create assignments, remove assignments, or create new content tabs.
Content tab page
To open the Content Tab page dedicated to a specific content tab:
Click on the name of the content tab:

Click Edit.
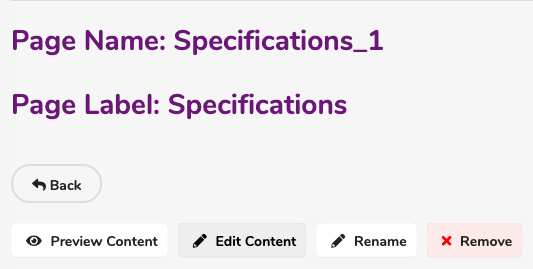
The page consists of following elements:
- Page Name;
- Page Label;
- Action buttons to Preview, Edit, Rename, or Remove content;
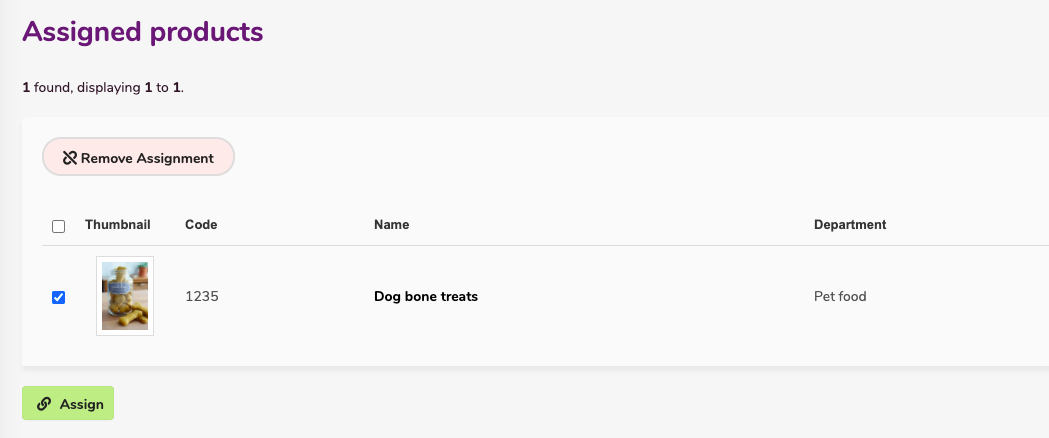
- Assigned products section.
Assigned products are displayed with their Thumbnail, Code, Name and the Department.
Creating a new content tab
To create a new content tab, follow these steps:
Click Create New.

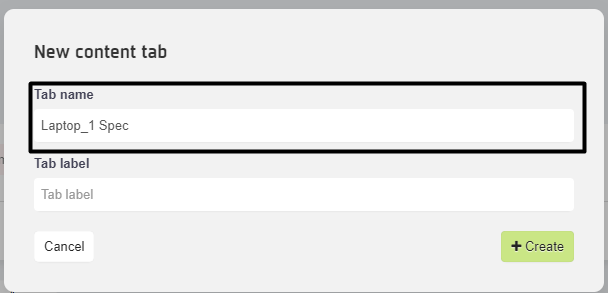
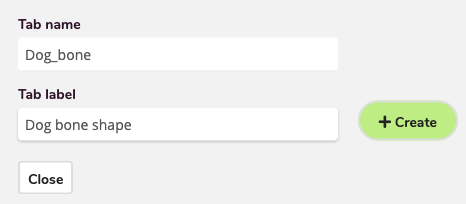
Enter following information:
Tab Name, the tab name is an internal name and is only visible in the WebStore Manager.
- Tab label, this label is displayed on your WebStore, e.g., Specifications.
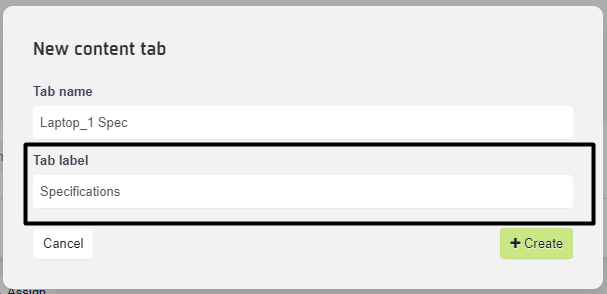
- Click Create.


In this feature, you can:
- Add, remove, and modify tabs assigned to a given product
- Edit and rename tabs
- Set the status
- Remove the assignment of content tabs to your product or delete them completely
- Preview content tabs
To create and assign content tabs, do the following:
- Login to your WebStore Manager.
- Go to Design & Content > Content.
- Select Content tabs.
The content tab page
- When you select Content tabs, you can view a list of all your current content tabs.
- To filter the content tabs, click Show Filters.
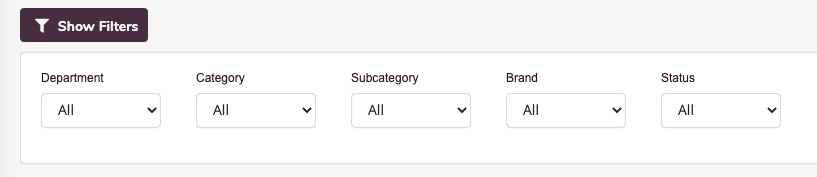
- This option allows you to filter the content tabs by following criteria:
- Department
- Category
- Subcategory
- Brand
- Status
- Use the search box to search for tabs by using keywords.

Create and edit content tabs
You can create, remove, and update the status of content tabs, or assign products to multiple tabs at the same time.
To create and edit content tabs, do the following:
- Click Create New.
- Enter the tab name, this is an internal name and will not be visible on your WebStore.
- Enter the tab label, this will be visible on your WebStore.
- Click Create.
- You can rename, deactivate, or remove a content tab.
- You can preview a content tab after you have assigned a tab to a product on your WebStore.


Note: If you remove a content tab, it will no longer be displayed for any assigned product.
Assigning a content tab to a product
To assign a tab to a product, do the following:
- Click Assign.
- You can use the store navigation or search bar to find products.
- Select the product and click Assign.


Note: If you rename or edit a content tab it will still be assigned to the product.
Removing content tabs from a product
To remove a content tab from a product, do the following:
- Click Edit on the content tab page.

- Under Assigned Products, you can view a list of products currently assigned to that particular content tab.
- Select the product you want to remove and click Remove Assignment.


Adding/editing content in a content tabs
To add or edit content in a content tab, follow these steps:
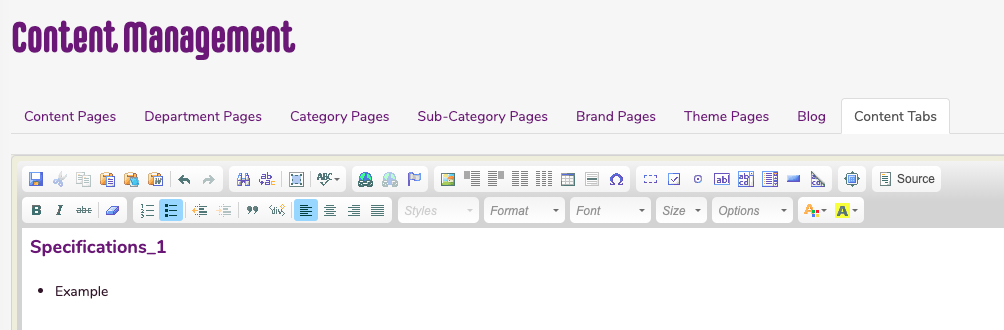
Click Edit.

Click Edit Content:

Enter the tab content to be displayed either in what-you-see-is-what-you-get (WYSIWYG) mode with drag and drop image upload support, and/or in HTML mode.

Click Save and choose to set the change live.
The change can then be viewed on the WebStore.